
Week 5 - Week 10
Leong Jiahui
0353469
Bachelor of Design (Honours) in Creative Media
GCD61204103262 / Digital Photography and Imaging
Project 2: Photo Manipulation, Double exposure & Photo Manipulation
Content
TUTORIAL EXERCISES
Week 5 ( 28/4/2022)
Exercise: Hearst Mansion + Shazam
 |
| fig 1.1.1 shazam progress (21/4/2022) |
 |
| fig 1.1.2 Shazam practice final outcome (21/4/2022) |
Exercise: Double Exposure
 |
| fig 1.2.1 Double exposure exercise (28/4/2022) |
WEEK 6 (4/5/2022)
Exercise: Photo recolouring
 |
| fig 1.3.1 Photo recolouring practice progress (5/5/2022) |
 |
| fig 1.3.2 Photo recolouring practice outcome (5/5/2022) |
Exercise: Blending Mode
 |
| fig 1.4.1 blending mode 1 (26/5/2022) |
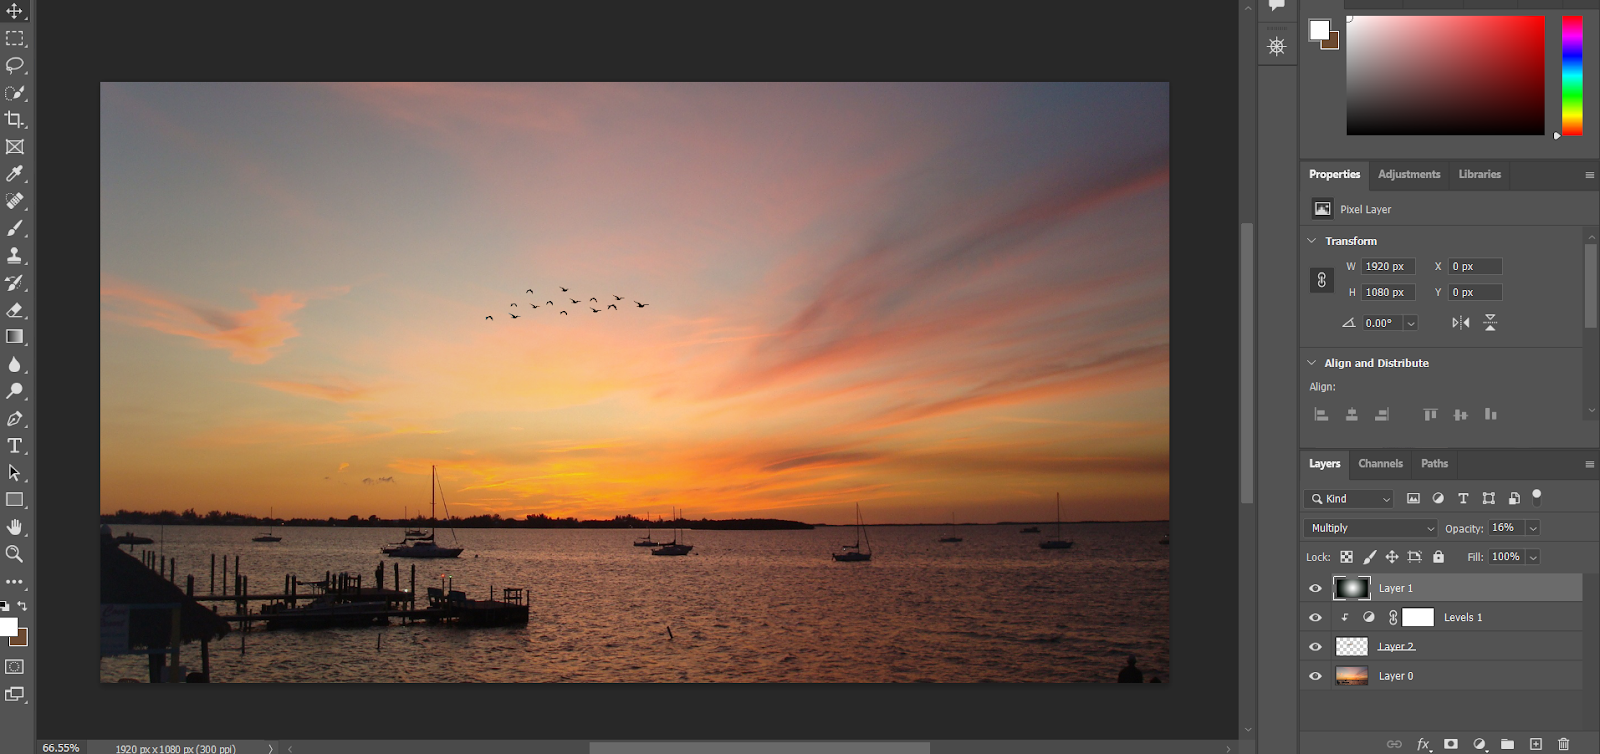 |
| fig 1.4.2 blending mode 2 (26/5/2022) |
 |
| fig 1.4.3 softlight blending mode (26/5/2022) |
Instructions
PROJECT 2A: EXERCISE 1 (PHOTO MANIPULATION: HEARST MANSION)
PROGRESS
Week 5 ( 28/4/2022)
Exercise: Hearst Mansion + Shazam
Before we attempt to insert ourselves into the Hearst Mansion, we were tasked to practice with Shazam first.
|
| fig 2.1.1 shazam progress (21/4/2022) |
|
| fig 2.1.2 Shazam practice final outcome (21/4/2022) |
For the 2nd part of the project, I chose 2 pictures of myself and decided to make both and see which turns out better.
 |
| fig 2.2.1 photo 1 (24/4/2022) |
 |
| fig 2.2.2 photo 2 (24/4/2022) |
 |
| fig 2.2.3 Masked photo 1 (24/4/2022) |
 |
| fig 2.2.4 Masked photo 2 (24/4/2022) |
 |
| fig 2.3.1 Photo Manipulation ver 1 (26/4/2022) |
 |
| fig 2.3.2 Photo Manipulation ver 2 (26/4/2022) |
PROJECT 2B PART 1: DOUBLE EXPOSURE
I drew little clouds because I thought it would be a waste if we could not see the beautiful sky. It was after I finished messing around with this that I realised we were supposed ( or advised ) to make our portraits and elements black and white. I never read.
I went for a Japanese traditional castle in this one. Not my best, but I'll settle for this until I have time to make another.
Exercise: Double Exposure
In this exercise, we are tasked to edit sceneries onto our portraits using double exposure. We are given a set of photos for practice in class during the tutorial before we move on to the task.
I have decided to use this picture of myself to carry on with the task.
Not having anything particular in mind, I looked up a picture of the night cityscapes and tested out the double exposure.
|
| fig 3.1.1 Double exposure exercise (28/4/2022) |
I have decided to use this picture of myself to carry on with the task.
 |
| fig 3.2.1 portrait |
 |
| fig 3.2.2 cityscape element |
 |
| fig 3.2.3 Double Exposure var 1 ( 4/5/2022) |
 |
| fig 3.2.4 Double Exposure Progress (4/5/2022) |
 |
| fig 3.3.1 Colour Filter variations (6/5/2022) |
 |
| fig 3.3.2 Double Exposure Final Outcome (7/5/2022) |
PROJECT 2B PART 2: PHOTO RECOLOURING
WEEK 6 (4/5/2022)
We were given a black and white picture to practice before we move on to the task. Honestly, I've never really considered how b&w photos are recoloured, but definitely not like this. Mind blown to pieces.
|
| fig 4.1.1 Photo recolouring practice progress (5/5/2022) |
|
| fig 4.1.2 Photo recolouring practice outcome (5/5/2022) |
We were provided with a series of photos to choose from, and I settled for the photo below.
 |
| fig 4.2.1 b&w photo to be recoloured (5/5/2022) |
 |
| fig 4.2.2 Recolouring progress (6/5/2022) |
 |
| fig 4.2.3 Recolouring Final Outcome (6/5/2022) |
PROJECT 2C: PHOTO MANIPULATION
WEEK 7 (12/5/2022)
Initial Idea Sketches
The following are my first stage sketches (which I may or may not have rushed) that I ended up not using (for new sketches, please refer below). They're just some developing concepts I thought of so I just plucked the images off google instead of taking them myself.
 |
| fig 5.1.1 Photo Manipulation Idea concepts |
 |
| fig 5.1.2 Photo Manipulation Idea Sketches (15/5/2022) |
...They're terrible and I hate them.
I was doing it for the sake of doing it at this point, so I decided to do more research and restart the project.
WEEK 8 (19/5/2022)
Visual Research
 |
| fig 5.2.1 Photo manipulation - jellyfish |
Okay okay okay okay okay. This is so genius. After getting stuck on the project for far too long, I stumbled upon this page( https://www.diyphotography.net/artist-creates-photo-manipulation-word-games-will-make-smile/ )and it was a total game-changer.
Hence, I started looking up words that are a combination of two words (they're called compound words, apparently) and compiled a list of potential words I could use:
- keyboard (using keys to arrange into a keyboard, change colours to match)
- daytime ( sky edited onto the face of a clock)
- mailbox (TBC)
- stopwatch (stop sign edited onto the face of a watch)
I'm pretty damn keen on the first idea but am currently unsure if we're allowed to alter the colours of the photos taken or duplicate them in the same picture. I did some sketches anyway, and now we wait.
SKETCHING
 |
| Fig 5.3.1 Photo Manipulation sketches 1 (18/5/2022) |
 |
| Fig 5.3.2 Photo Manipulation Sketch 2 (18/5/2022) |
New sketches:
 |
| fig 5.3.3 Photo Manipulation Sketch 3 (26/5/2022) |
After looking at more examples, I decided to come up with more sketches. After consultation with Mr Martin, we decided to go on with idea 5- the umbrella and straw.
Photos taken:
 |
| fig 5.4.1 straw (1/6/2022) |
 |
| fig 5.4.2 umbrella (1/6/2022) |
From the pictures I've taken with probably not too great of a lighting, I started masking and combing the pictures. Here it how it turned out:
 |
| fig 5.4.1 Photo Manipulation 1 (1/6/2022) |
After getting feedback from Mr Martin, I changed the background to a duller colour so it does not overpower the umbrella. Unfortunately, I could not find a better-looking straw to use besides getting it online, as the result of using the other straw I've managed to get from my friend did not turn out as great as anticipated:
 |
| fig 5.4.2 Photo Manipulation attempt 2 (4/6/2022) |
 |
| fig 5.4.3 Photo Manipulation attempt 3 (4/6/2022) |
FINAL OUTCOME
PROJECT 2A - HEARST MANSION & RECOLOURING
 |
| fig 6.1 Hearst Mansion Final Outcome |
 |
| fig 6.2 Recolouring Black & White Final Outcome |
PROJECT 2B: DOUBLE EXPOSURE
PROJECT 2C: PHOTO MANIPULATION
 |
| fig 6.3 Double Exposure Final Outcome |
PROJECT 2C: PHOTO MANIPULATION
 |
| fig 6.4 Photo Manipulation Final Outcome |
FEEDBACK
WEEK 9 (26/5/2022)
Mr Martin suggested I explore more ideas for my Photo Manipulation task.
WEEK 10 (2/6/2022)
Mr Martin suggested that I change my background colour as the bright yellow overpowers the umbrella in the foreground. He also suggested that I use a better-looking straw and use a different coloured umbrella.
REFLECTION
These projects felt very long. When I first heard of this subject, I was expecting a photography course, not a photoshop course, so this course had been full of surprises really. Throughout project 2 I've managed to learn a lot of fundamental photoshop skills and familiarise myself with its basic functions. As a person with no prior knowledge of the software, I found every class and every project very fulfilling. All the tutorials were very easy to follow and I get to learn something new every week.
I do think my projects have a long way to go to even be close to looking decent, but I am happy with how far I've come since the beginning of the project. I'm also happy with all the exploration I have done. Looking at other people's works has truly helped me get a better idea of how I should proceed with my ideas. I'm looking forward to the final project already.
Comments
Post a Comment